Set up business profile
Customize your business branding by entering your company details. These will be displayed in the headers and footers of emails and invoices sent from WarrantyHub.

Permission Required: Users with the Settings permission can access this feature.
Add business information
- Go to Settings, select Business.
- Enter your Business Information:
- Add Logo
- Upload your business logo. Ensure the logo meets the recommended 1080P resolution of 1920x1080, available in either a 16:9 or 4:3 aspect ratio.
- This logo will be included in the header of your invoices and email events.
- Business Name
- Business Email
- Business Phone
- Address
- Website
- Save Business.
Customized business links
- iFrame Form - An order form that can be embedded on your website.
- Claim Portal - A link for customers to submit claims.
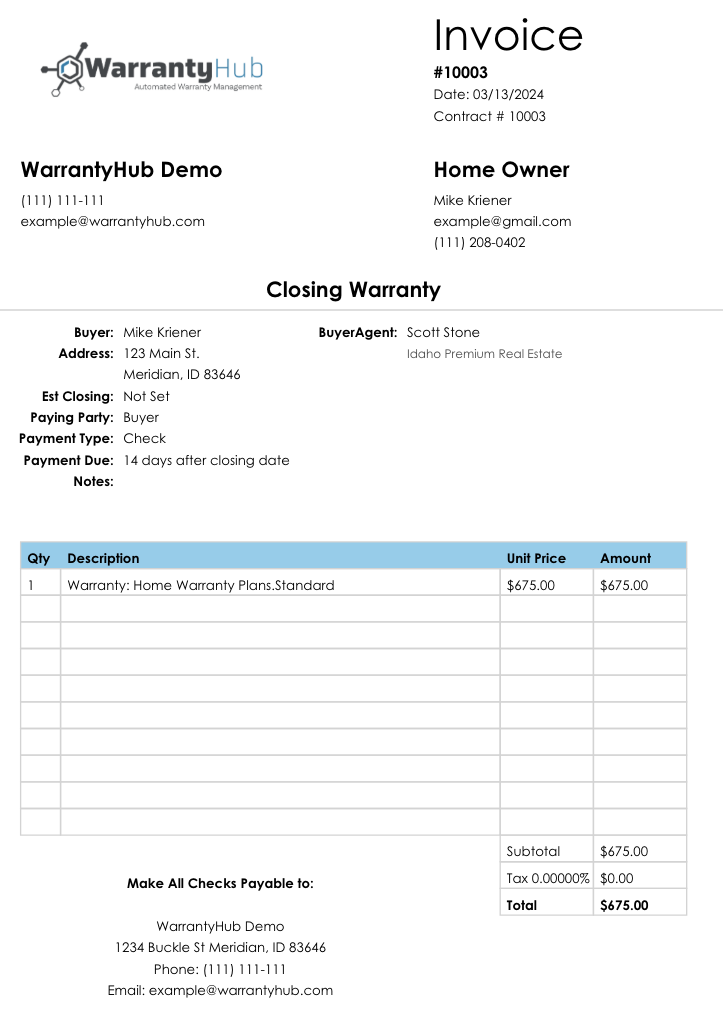
Examples of invoice and email formatting
Invoice example featuring business information:
The logo is included in the header, and your company details are displayed in both the header and footer.
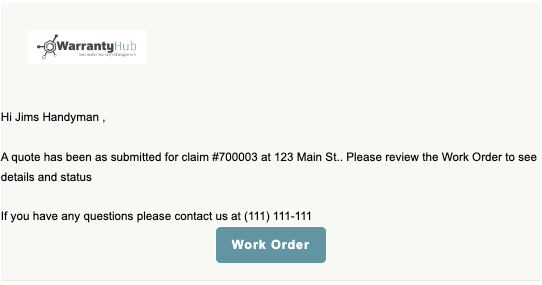
Example email highlighting business information:
In the email, your company logo is visible in the header, while your business information is shown in the footer.
Related Articles
Set up and manage SMTP credentials
Customize your WarrantyHub email events to suit your company preference. The "From" address will utilize an SMTP service of your choosing for sending outgoing replies. Permission Required: Users with the Settings permission can access this feature. ...Set up and manage contract and claim handler email notifications
Learn how to set up email notifications for contract and claim product events for your internal users. Link an email address for contract actions and another for claim actions. Permission required: Users with the Settings permission can access this ...Set up and manage role-based permission groups
Establishing clear boundaries and responsibilities within your team is a cornerstone of secure and efficient system management. The “Role-Based Access Permissions in WarrantyHub” guide is crafted to assist you in defining and implementing these ...Add and invite users
Efficiently growing your team is pivotal to scaling your business operations. Our guide on “Adding a New Team Member in WarrantyHub” provides a straightforward process to incorporate new staff into your system. It ensures they receive the appropriate ...